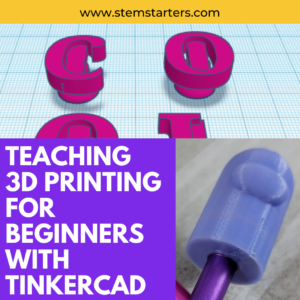
In today’s digital age, incorporating 3D printing into the classroom can enhance students’ creativity, problem-solving skills, and technological literacy. Tinkercad is a user-friendly online platform, that provides a perfect introduction to 3D modeling for learners as young as kindergarten, but still functional enough for adult learners. This blog post will explore the benefits of using Tinkercad for 3D Printing in the classroom and provide practical tips for educators looking to integrate 3D design into their curriculum.
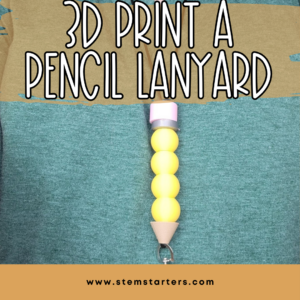
If you would like to start with Tinkercad in your classroom, you can find my Introduction to 3D Printing Guide here, or you can sign up for my email list below to snag it for free.
Benefits of Using Tinkercad for 3D Printing in the Classroom
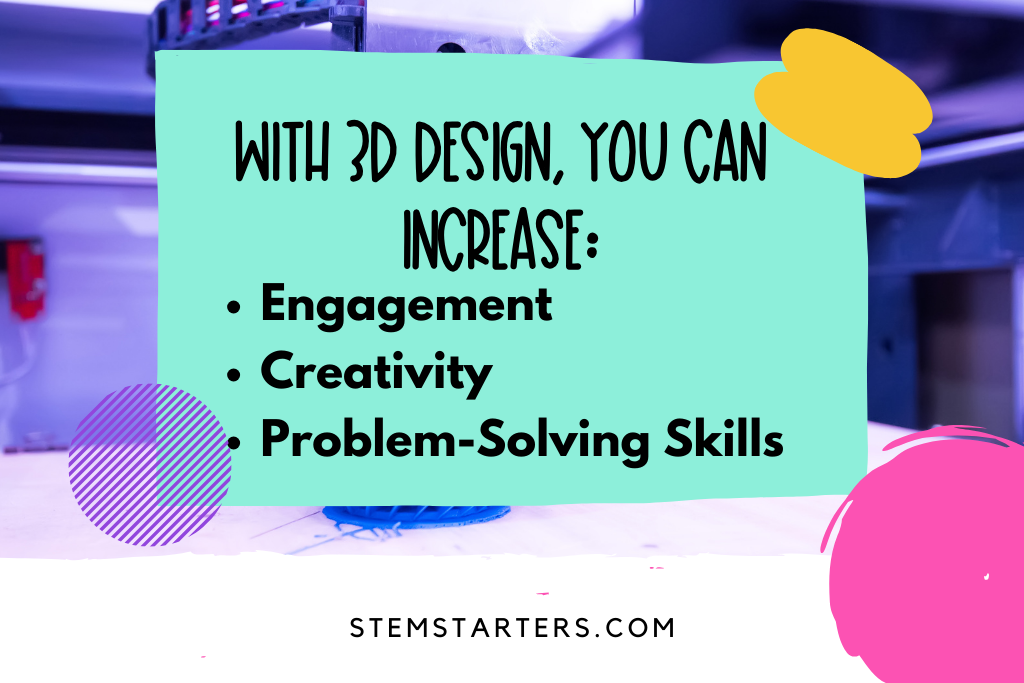
1. Engagement
Tinkercad’s intuitive interface and interactive tools capture students’ interest and motivate them to explore the world of 3D design. By creating their own 3D models, students become active participants in the learning process.
2. Creativity
Tinkercad allows students to unleash creativity by designing unique objects, characters, and structures. Encouraging students to think outside the box fosters imagination and originality.
3. Problem-Solving
3D design requires critical thinking and problem-solving skills. Through trial and error in Tinkercad, students learn to overcome challenges, iterate on their designs, and develop a growth mindset.
4. Cross-Curricular Connections
Integrating Tinkercad into various subjects such as science, math, and art promotes interdisciplinary learning. Students can apply their 3D design skills to real-world projects and scenarios.

Practical Tips for Implementing Tinkercad for 3D Printing in the Classroom
1. Start Simple:
Introduce Tinkercad gradually, starting with basic shapes and design concepts. As students gain confidence, they can progress to more complex projects.
I have an introduction to 3D printing lesson that makes this part easy.
2. Guided Exploration:
Provide step-by-step instructions and tutorials to help students navigate Tinkercad’s features. Encourage peer collaboration and troubleshooting to foster a supportive learning environment.
In my lessons, I provide pictorial step-by-step for students as well as videos that need that learning piece.
3. Real-World Applications:
Connect 3D design projects to real-world issues or challenges to make learning more meaningful for students. For example, students can design prototypes for inventions or models for historical landmarks.
4. Assessment and Feedback:
Use rubrics to assess students’ 3D design projects based on creativity, accuracy, and problem-solving skills. Provide constructive feedback to guide students’ growth and improvement.
For assessment, I use a checklist that students must follow in their design process.

Easily Integrate Tinkercad into Your Curriculum
Imagine a classroom where students learn how to create 3D designs through a step-by-step tutorial process and then can use what they have learned to complete their own design. That is what the STEM Starters 3D Design Curriculum provides. It makes lesson planning a breeze. WIth younger students, you can go through it step-by-step with them as you show your screen live. With older students, you can simply assign the slides to students through your learning management system and then be there to offer support. Once students have gotten used to using Tinkercad in your classroom, they can work through the modules more independently and you can even leave this for a quick, no-prep sub plan.
What is included in STEM Starter’s 3D Tinkercad Lesson Plans and Curriculum?
-
Teacher Guide
This gives you lesson plan background and ways to extend these lessons with your students.
-
Student handout
There is a student handout that you can choose to utilize with students. It has the STEM Process for students to think through (Ask, imagine, plan, create, test, improve) and this includes a checklist rubric for students to complete.
-
Step-by-Step Instruction
Each module gives students the breakdown of what they need to do step by step to complete the file. This is included in PDF, website, and Google Slides form.
-
Teacher/Student Google Slides
The Google slides included give teachers an opportunity to introduce the topic for the day, as well as go through the steps with students. However, you can also assign these to your students through their learning management system so that students can use these slides independently.
-
Video Tutorial
A video tutorial is shown for each of the 3D design modules. This gives students the ability to see how to create the project in real-time. It is included in the slides, but also available as a separate link.
Check out 3D Lesson Plans from STEM Starters today!
Ways to Use the STEMStarter’s 3D Printing Curriculum Modules
-
No prep lesson planning
-
Easy, No-prep Sub plans
-
Independent Work
-
Early Finishers
-
Regular Education OR STEM Classroom
-
Coding Club
-
Church Groups
-
Scouts/Girl Scouts
Tinkercad offers endless possibilities for creative expression and learning in the classroom. By integrating 3D printing into the classroom and curriculum, educators can inspire students to think critically, collaborate effectively, and innovate solutions to real-world problems.