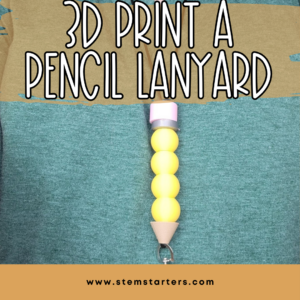
Print, stack, and wear! If you’ve downloaded and printed my stackable pencil beads, you’re ready for the fun part: assembly. In this quick guide, I’ll show you exactly how to thread, secure, and finish your 3D-printed pencil lanyard using just a few simple materials like necklace cord and a swivel D-ring hook. Let’s put it together!
This post contains affiliate links. It costs you nothing, but as an Amazon Associate I earn from qualifying purchases. Thanks for your support!
Materials you need
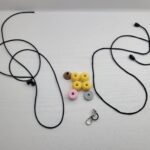
- Necklace Cord with Breakaway Clasps- https://amzn.to/4vAHDno
- Swivel D-Ring Keychain – https://amzn.to/4eaxJC1 or this one https://amzn.to/4v8FLm7
- Printed Beads – https://makerworld.com/en/models/1568157-stacking-pencil-beads-for-teacher-lanyard-keychain#profileId-1680252
How to Put it Altogether
Once you have printed out the pieces and gathered all the materials. You can begin putting it altogether.
- Decide which lanyard size to use. The shorter cord I cut at about 33 inches. It is a little on the shorter side and I use only 3 of the yellow beads instead of 4 with this one. The longer option, you can make as long as you want, but I cut it at 40-42 inches.

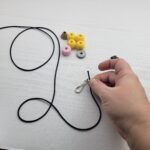
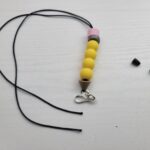
Longer Cord Shorter Cord (only 3 beads) - Put one side of the cord through the swivel d-ring.
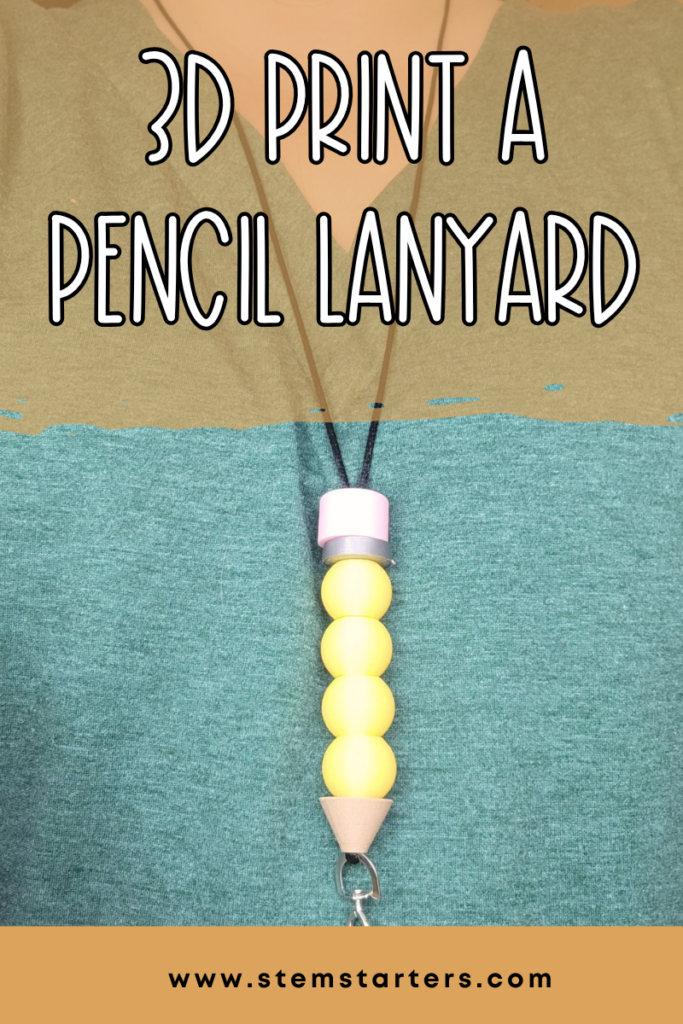
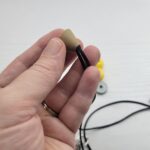
- Now, place both sides of the cord ends together and put through the smaller side of the brown, triangular bead.
- Then continue placing beads on both of the lanyard sides together, first yellow, then silver and last pink.
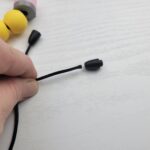
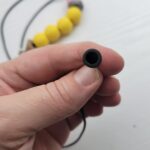
- Put one of the lanyard pieces through the small side of one of the breakaway clasps.
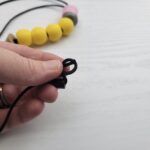
- Make a knot in your cord.
- Pull it so that it snugly fits inside the breakaway clasp. Cut away any extra cord that is sticking out.
- Repeat with the other side of the breakaway clasp.
- Now your lanyard is complete.

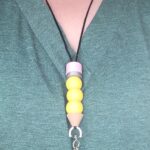
Assembling this lanyard takes just a few minutes, but it’s a piece you’ll get compliments on all year long. Wear it with pride, or wrap it up as a thoughtful, handmade gift for an incredible teacher in your life. Don’t forget to share a picture of your finished project—I can’t wait to see your printed pencils!